Build your first landing page
Pick one of four ways to start, edit the page in the builder and publish it to your Shopify store.
A Crovio landing page is a list of sections (a hero, a buy box, an FAQ…) with a page theme on top. You build it in Crovio and publish it as a normal page in your online store: your theme's header and footer wrap it, and it has its own URL, like /pages/spring-launch.
1. Pick how to start
Go to Landing pages → New page. There are four ways in, and everything stays editable afterwards:
| Option | What happens | Needs Claude |
|---|---|---|
| Start from a template | Pick one of 14 designed pages. Crovio fills it with your products' photos, prices and options | No |
| Tailor from a page | Paste the link of any page you like. Claude rebuilds its structure for your brand, with your products and your words | Yes |
| Describe it | Say what the page is for. Claude writes and designs it | Yes |
| Blank page | An empty canvas. Add sections from the library | No |
The two Claude options run through the Crovio connector on your own Claude plan, with no AI fees. Create a page with Claude.
2. Choose a template
Templates are grouped by category, and you can search them. The previews use your own products.
| Template | Best for |
|---|---|
| Product launch | The all-rounder: product hero with the buy box up top, benefits, proof and FAQ |
| Long-form sales page | Problem, solution, proof and guarantee for one hero product |
| 5 reasons listicle | An article-style "5 reasons why…" page that ends in a buy box. Great for paid social |
| Advertorial | An editorial story with a soft sell |
| Bundle & save | Quantity tiers front and centre, with urgency, proof and a guarantee |
| Black Friday sale | A dark, high-contrast sale page with a countdown, scrolling offer bar and the deals |
| Holiday gift guide | Shop by recipient, featured gifts and a signup for late deals |
| Coming soon / waitlist | A launch countdown, an email waitlist and a sneak peek |
| Lead magnet | Trade a guide, quiz result or discount for an email |
| Collection showcase | A lookbook for a collection: hero, the products, story and social proof |
| Brand story / About | Why you exist, who's behind it and what you stand for |
| Us vs. typical | Head-to-head against the usual alternative |
| Social proof wall | Customer photos, reviews and quotes, then the product |
| Subscribe & save | How the subscription works, flexibility and a buy box with plans |
When you use a template, pick the product (or products, or collection) it sells and give the page a title; that also sets its URL. Copy in [brackets] is a placeholder: replace it with your own words, and never publish made-up quotes or numbers.
3. Edit the page
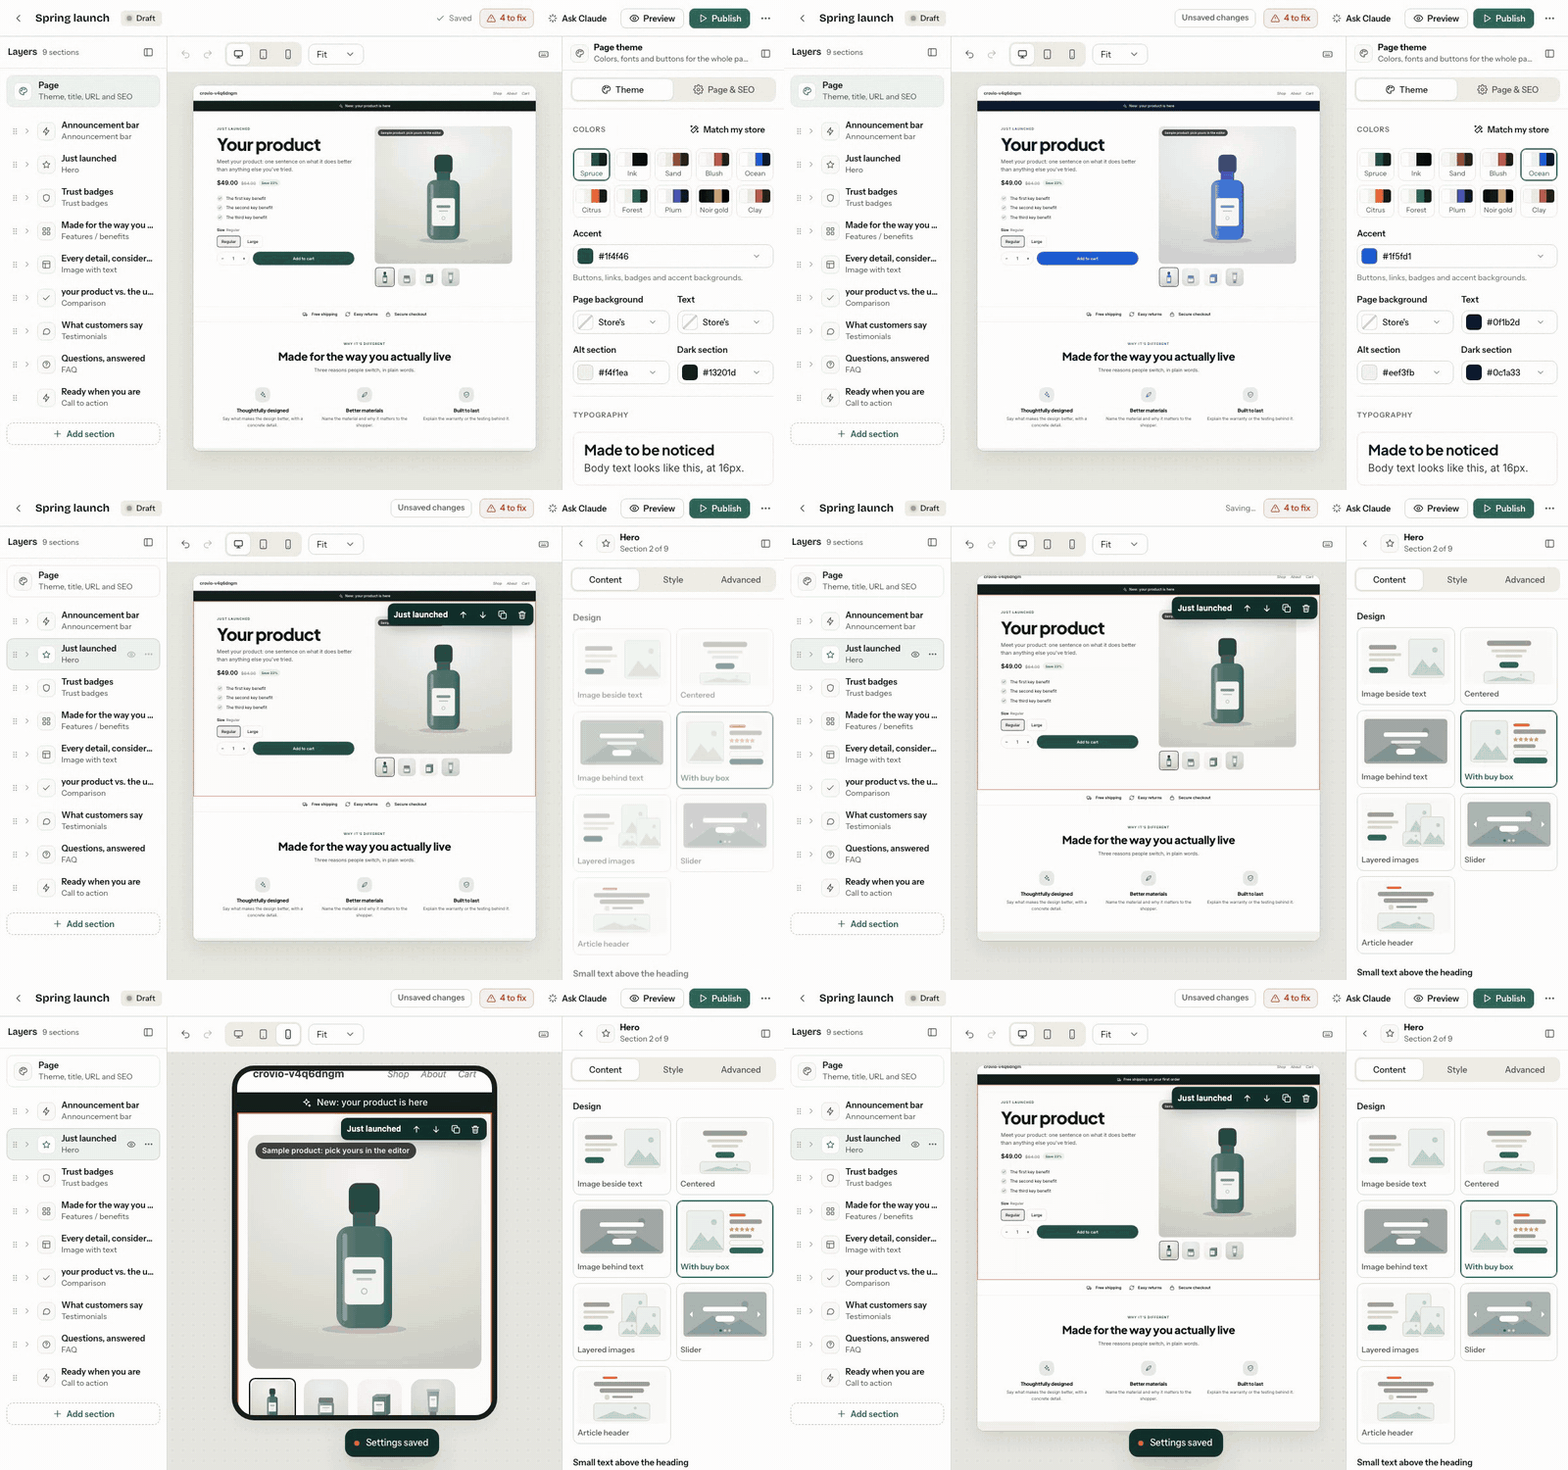
The builder opens with three panels: Layers on the left, the live canvas in the middle and the inspector on the right. Click anything on the canvas to edit it. Your work saves automatically. Editor basics.
- Add section opens the library of 34 sections, each with several designs. Sections and designs.
- Products: buy box, products, quantity offer and product hero sections take products from your store. Price, photos, options and subscriptions come from Shopify and stay live.
- Images and videos: drop a file on the field or click Upload. Crovio uploads it to your store's Content → Files. You can also pick from Files, use a product's photos or paste a link. Add Alt text to images for screen readers and search engines.
4. Set the page theme
Click Page at the top of Layers, then Theme: a palette (or Match my store), heading and body fonts, button shape, size and style, corner radius, spacing, content width and what happens after Add to cart. You can also hide your store's header or footer on this page.
5. Publish
Click Publish. Crovio checks the page first: a missing product, a countdown without an end date or placeholder testimonials block publishing, and the to fix button lists them. Then the page goes live and View live page opens it.
Next: publishing, URLs and SEO.
Was this page helpful?